Pages

Friday, February 3, 2017

Papercutting: Hand-Cut Wedding Card

As an undergraduate I took a hand-paper making and book arts course. This is where I learned how to make hand-carved stamps, books, and refined my XACTO-Knife skills. It was also where I first tried my hand at papercutting.

Fast forward to 2017 and it's been years since I paper-cut anything. What better excuse to pick up the blade again than the wedding ceremony of  my good friend, Mary, who was in that undergrad course with me. If anyone would appreciate the labor of a papercut wedding card, I knew Mary would.

Here are a few photos of the card in-progress and the finished product: 

Cutting in progress

All cut out!

Final

Monday, January 30, 2017

Scandinavian Lady Baby Shower Invite

Apparently I started the draft of this post and never published it.

I am 50% Swedish. Much of my inspiration comes from Scandinavian folk art. I love the lines, the simplicity, and the colors. This is the baby shower invitation I designed for my sister. I used the same invitation for both showers we held for her (way back in 2014!) only making minor changes to the date/time details.

My nephew just turned two. He was born Jan. 1, 2015, which goes to show how neglected this blog page has been.

Anyway, the entire invitation is hand rendered (hand drawn illustrations & hand lettering). I like to scan my hand rendered work into Photoshop/Adobe Illustrator to clean them up and turn them into vector images. That way I can fuss around with arrangement and sizing without worrying about nasty pixels!

Prior to adding digital color

Final


Saturday, March 7, 2015

Calligraphy Quote: Two Are Better Than One


My mother-in-law officiated her nephew's wedding last summer. One of the key scriptures was from Ecclesiastes. You know the one: two are better than one; a threefold cord is not quickly broken, etc.

She knows I dabble in calligraphy and asked me to make a print of the verse for her to give as a gift to the newlyweds. Well, it took me a few months to honor her request, but it's finally here!

Hand lettered calligraphy vectorized into a digital print.


Friday, January 9, 2015

Queen Bee & Poppy Floral Birthday Cards

I went through a phase where everything I made was on craft paper with black ink. Calligraphy, illustrations, doodles, whatever. I don't know if phase is the right word though, because let's get real, craft paper with black ink is pretty timeless, and downright swoon-worthy.

Here are two birthday cards I made on craft paper with black ink calligraphy. 

1. The Queen Bee
Queen Bee Birthday Card
This card was for my dear mother-in-law. She doesn't exactly have the "Queen Bee" personality in the traditional sense, and after I made it I realized that I don't think she even like bugs that much. However, I made the card with the endearing implication that she is the matriarch  and creator of the family. I think she liked it, regardless of the gigantic bug on the front page. I will say, though, that if I had to choose any insect, a bee would bee at the top of my list. They are quite beautiful and complex little creatures. And they make honey.

2. Poppy 
Poppy Birthday Card
One of my sisters-in-law loves poppy flowers. And I love flowers in general. Seriously, I am always happy to illustrate anything floral themed. My mom always had a large garden when we were growing up and I used to spend hours sitting on the rocks, usually trying to sneak up on dragonflies. Maybe my hours in the garden as a child is the reason I appreciate bees so much? Anyways, that's how this poppy birthday card came into being.

Sunday, December 28, 2014

Baby Shower Burlap Banner

Burlap bunting baby shower banner. Woof. That's a lot of Bs.


My sister is pregnant. Very pregnant. And although I have several adorable nieces and nephews on my husband's side of the family, I am very excited for one of my siblings to finally have a baby.

Baby Oliver Daniel Heitke is due January 2015.

This post was originally going to be about the custom burlap banner I made, but it turned into a longer post which shares all sorts of tid-bits from the shower.

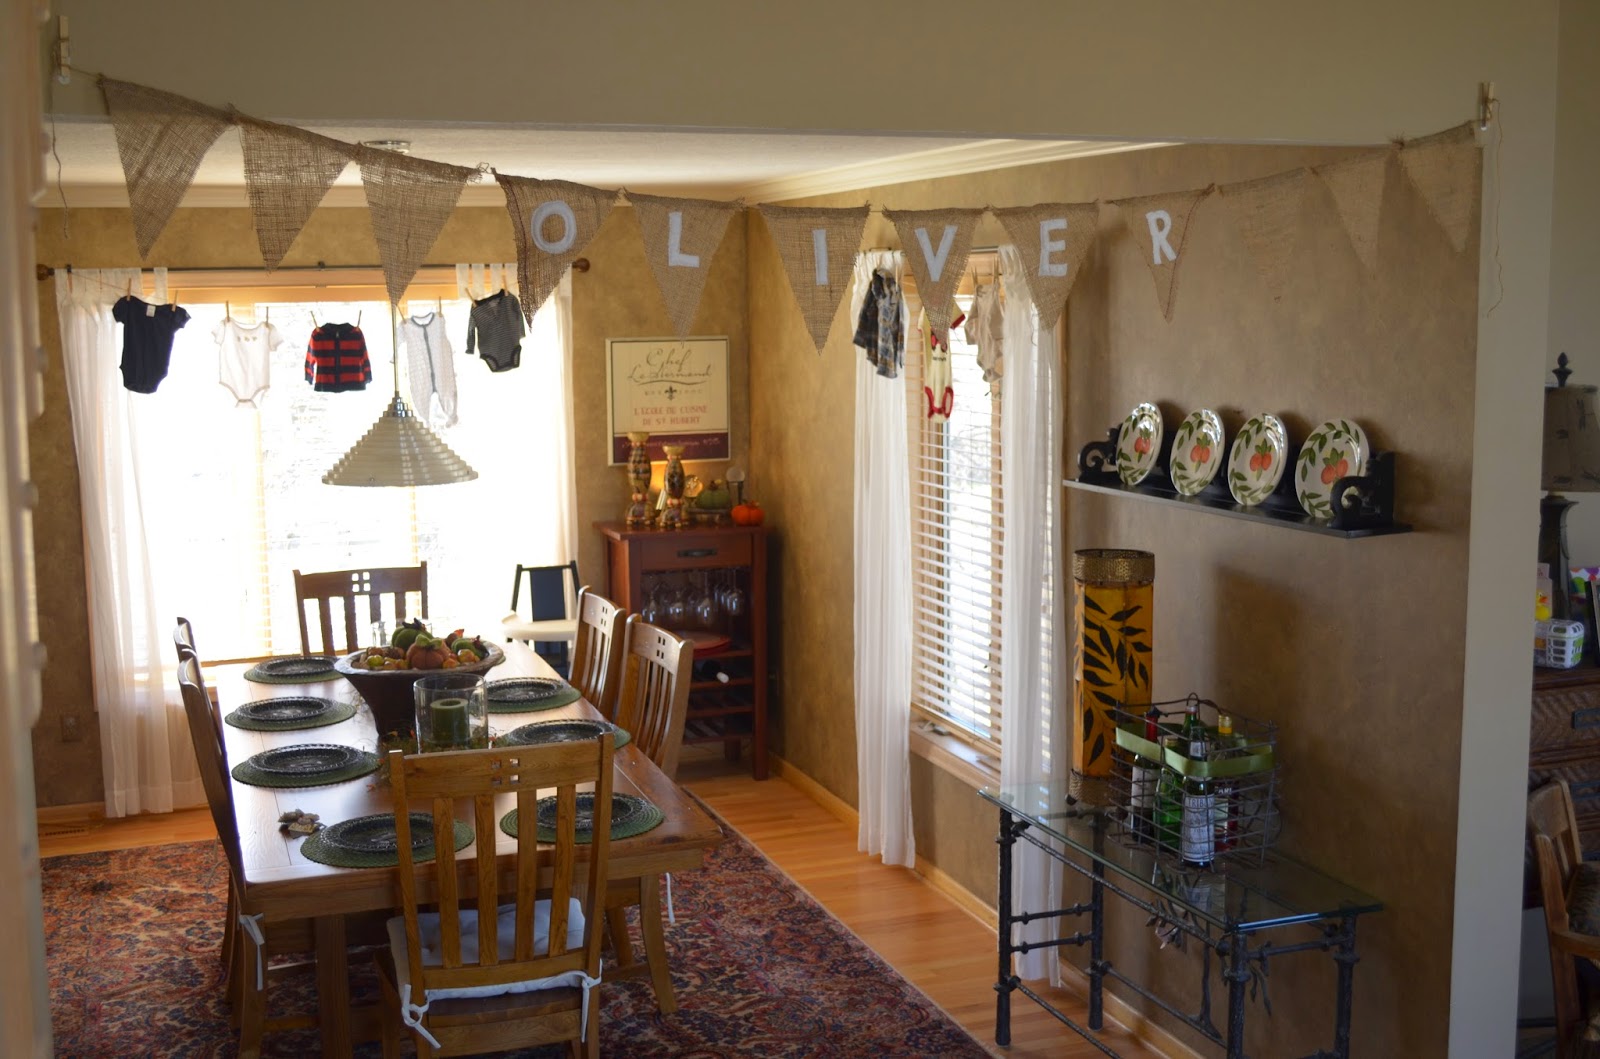
I would describe my sister's style as farm-chiq, and I wanted to reflect her style in the theme of the shower, so I used browns, neutrals, and very subtle hints of blue here-and-there to give some consideration to the fact she's having a boy. But one thing is for sure, no pastels were used.

I actually helped host two baby showers for her (one with our dad's family & another with my mom's family). I did reuse some decorations, games, themes, etc., so I will be sharing details/photos from both showers in one blog post.

1st Shower

2nd Shower

I crafted a custom-made burlap bunting banner with baby's name on it, shown WAY above. The letters are individually hand-cut, stuffed, and machine stitched onto the burlap. Let me tell ya, burlap is one heck of a thing to try machine-sewing. Especially small swatches. The fabric is not firm and has a tendency to catch & bunch. If I had to do it again I would definitely consider hand-stitching.

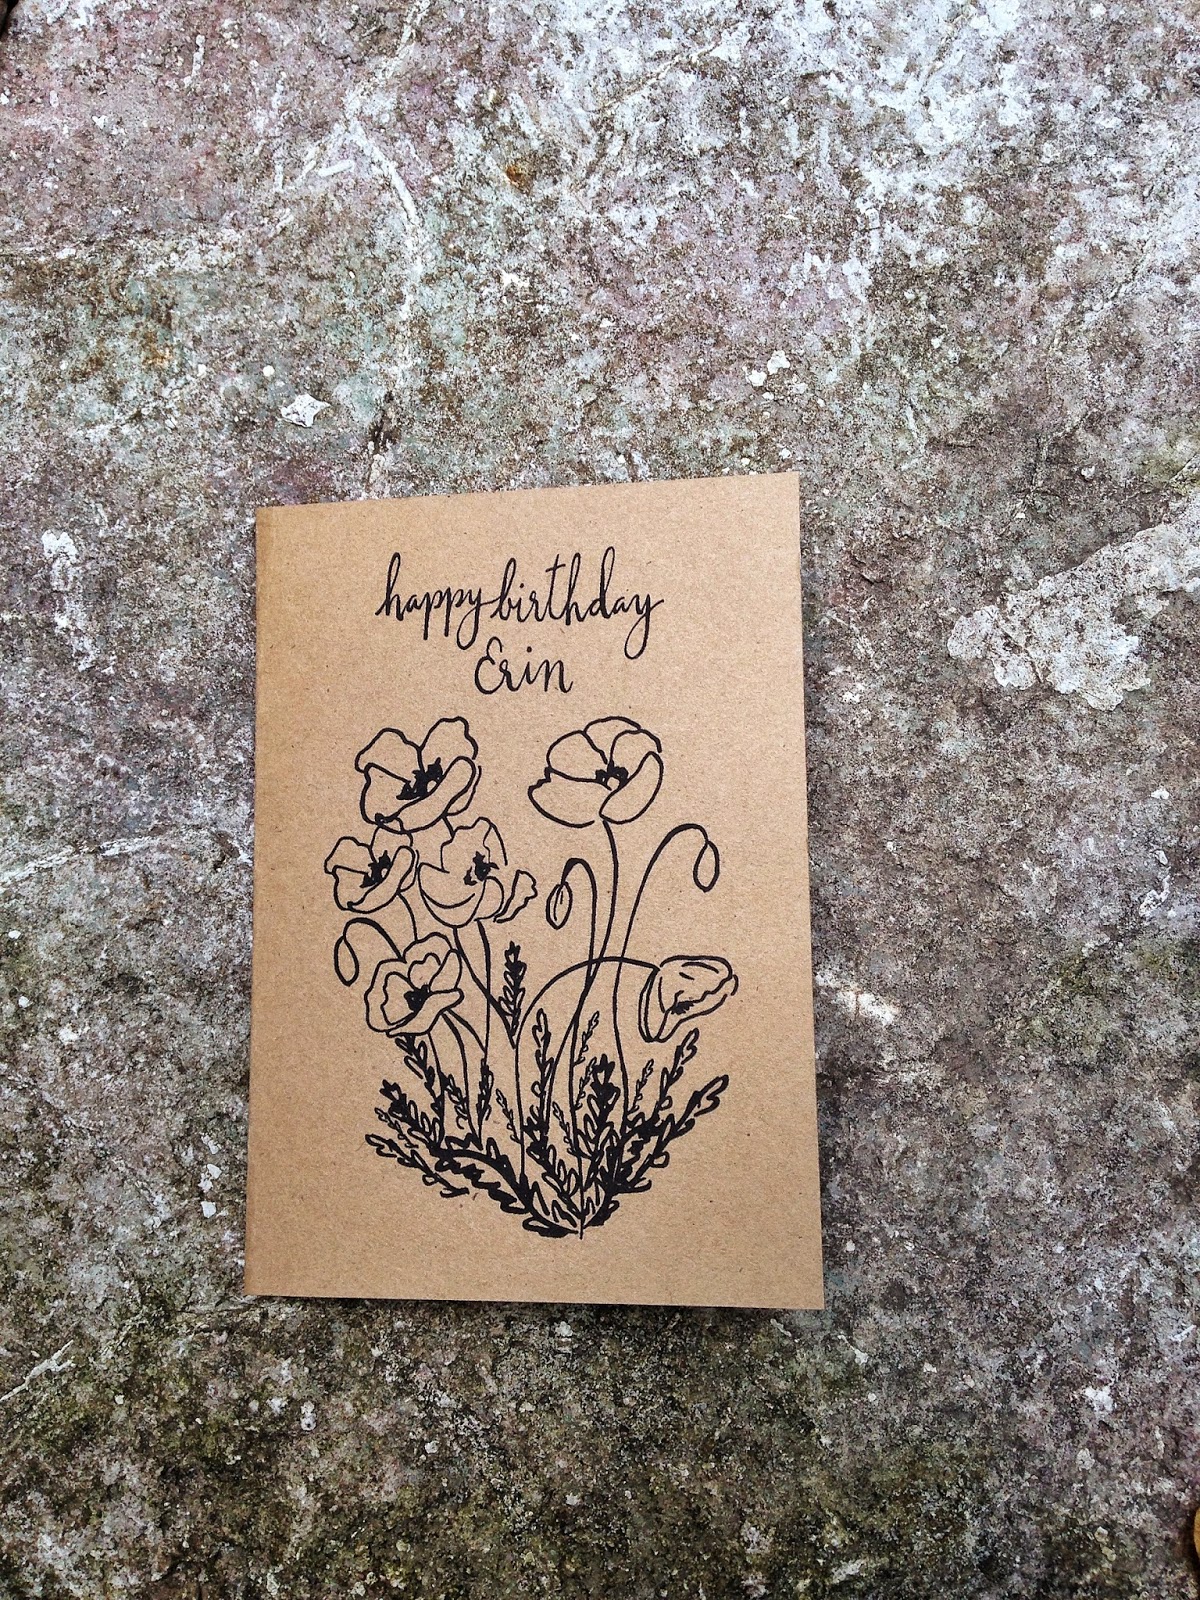
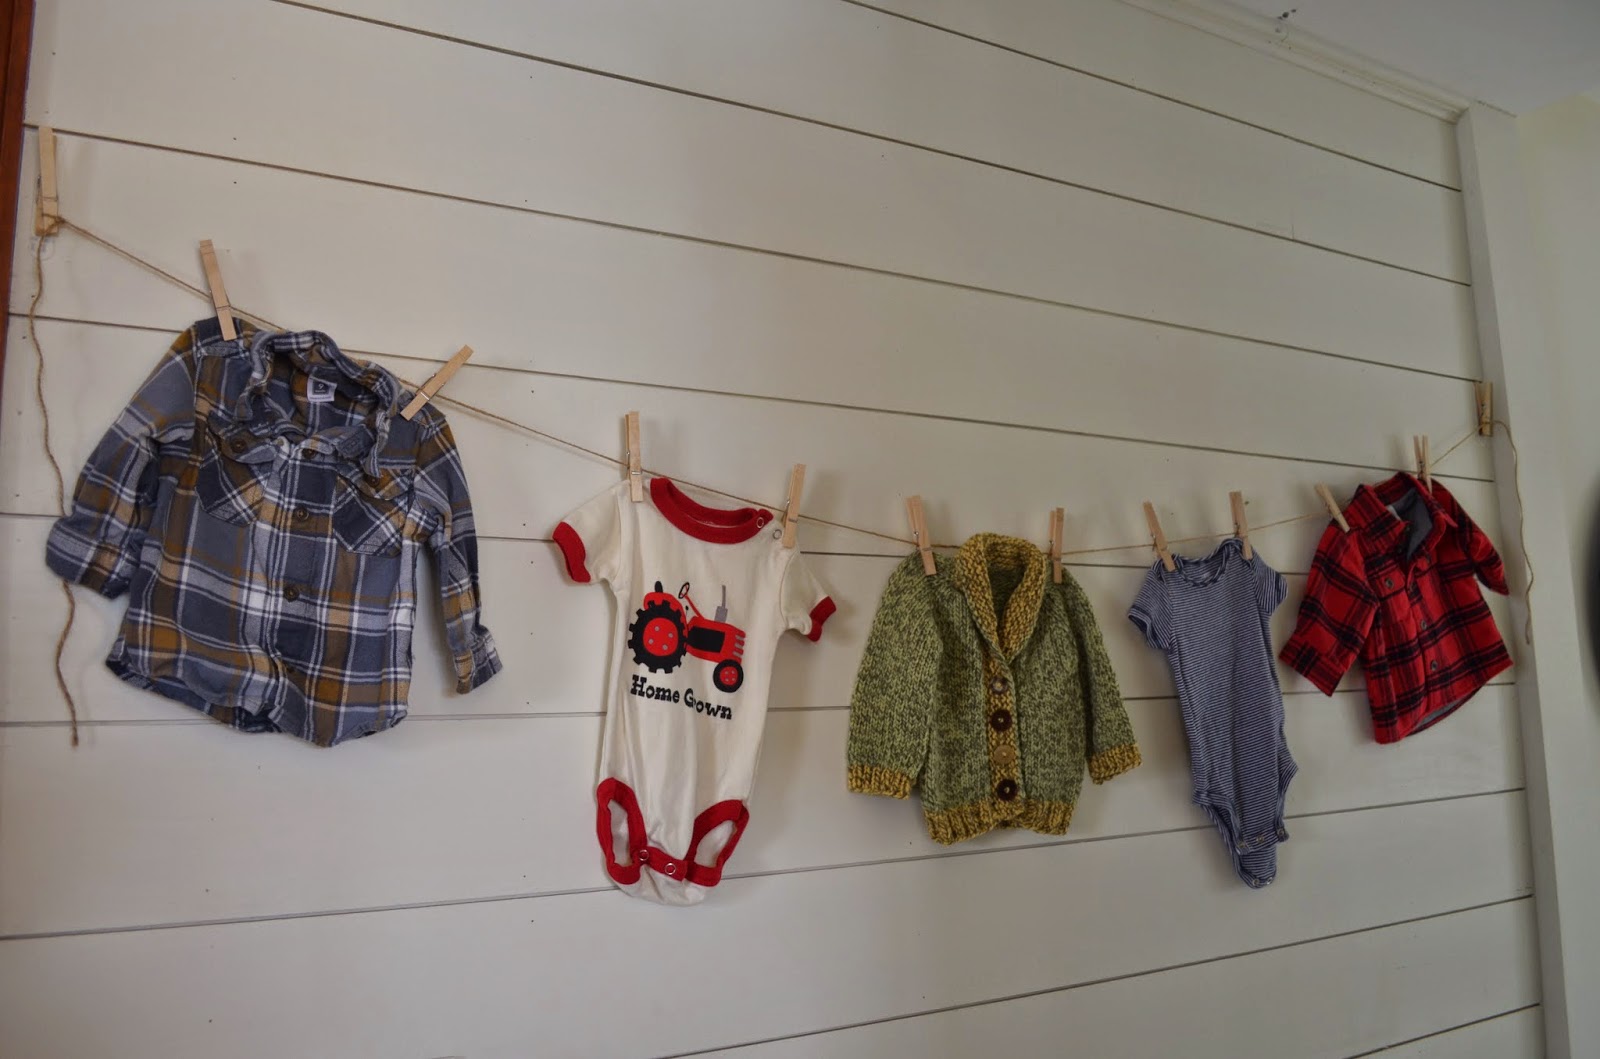
I also gave her a gift of three hand-made bibs. They doubled as decorations. (FYI using baby clothing such as onesies, tiny sweaters, pants, bibs, etc. as decorations is an inexpensive way to decorate for a baby shower. It is simple, reusable, and can double as a gift).


As far as games go, we had the traditional "Clothes Pin Game" where each guest gets three clothes pins and whenever someone says "Baby" they lose a pin.

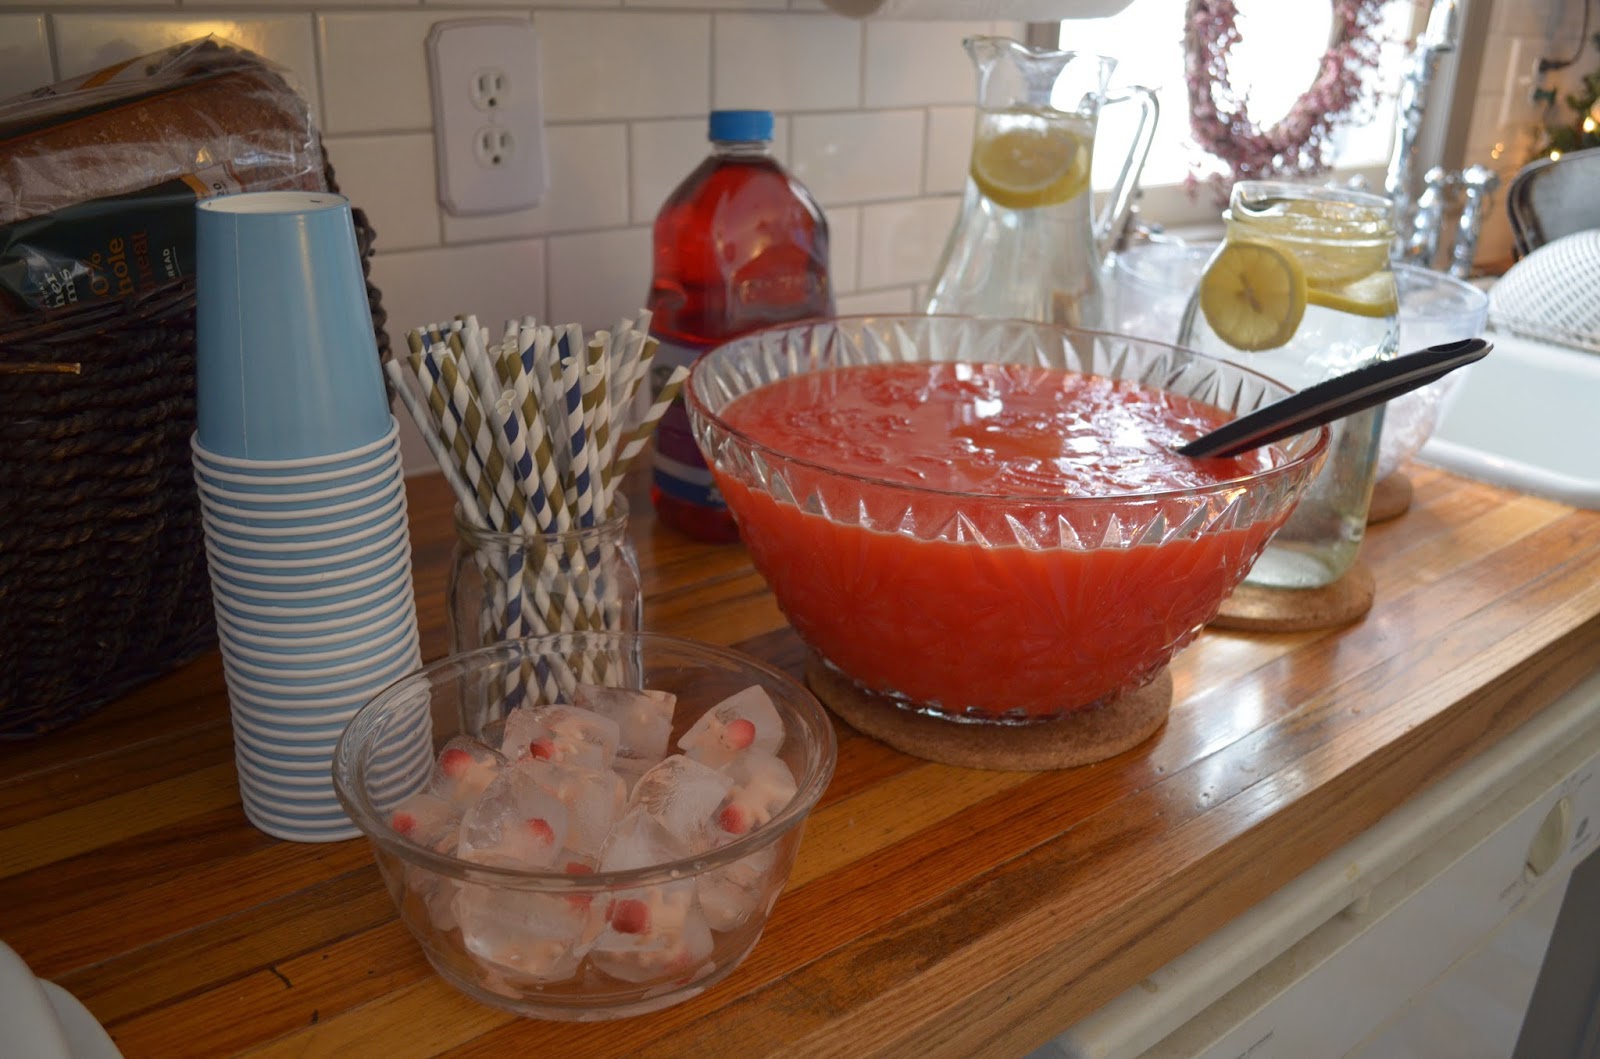
We also played a cute little game called "My Water Broke!" In order to play this game you will need tiny baby figurines. You will need to freeze them in ice cubes prior to the shower. I suggest using spring water as it freezes the clearest, and guests will actually be able to see the babies.  There are two ways to play this game.

Version 1: Each guest gets an ice cube with a plastic baby figurine frozen inside. The first guest to thaw their baby wins. The only rule is that they must get the baby completely free of ice. The first guest to thaw their baby shouts, "My water broke!" and wins the game. Any method of unfreezing is allowed as long as it is does not involve other appliances (microwave, oven, etc.).

Version 2: Each guest gets an ice cube with a plastic baby figurine frozen inside IN THEIR BEVERAGE. The first baby to naturally thaw in the beverage shouts, "My water broke!" and wins the game.


Other games:
  • Baby Shower Scattergories: Basic Scattergories gameplay with the baby's initials as the designated letters for each rounds. (First round = O for Oliver; Second round = D for Daniel; Third round = H for Heitke.)
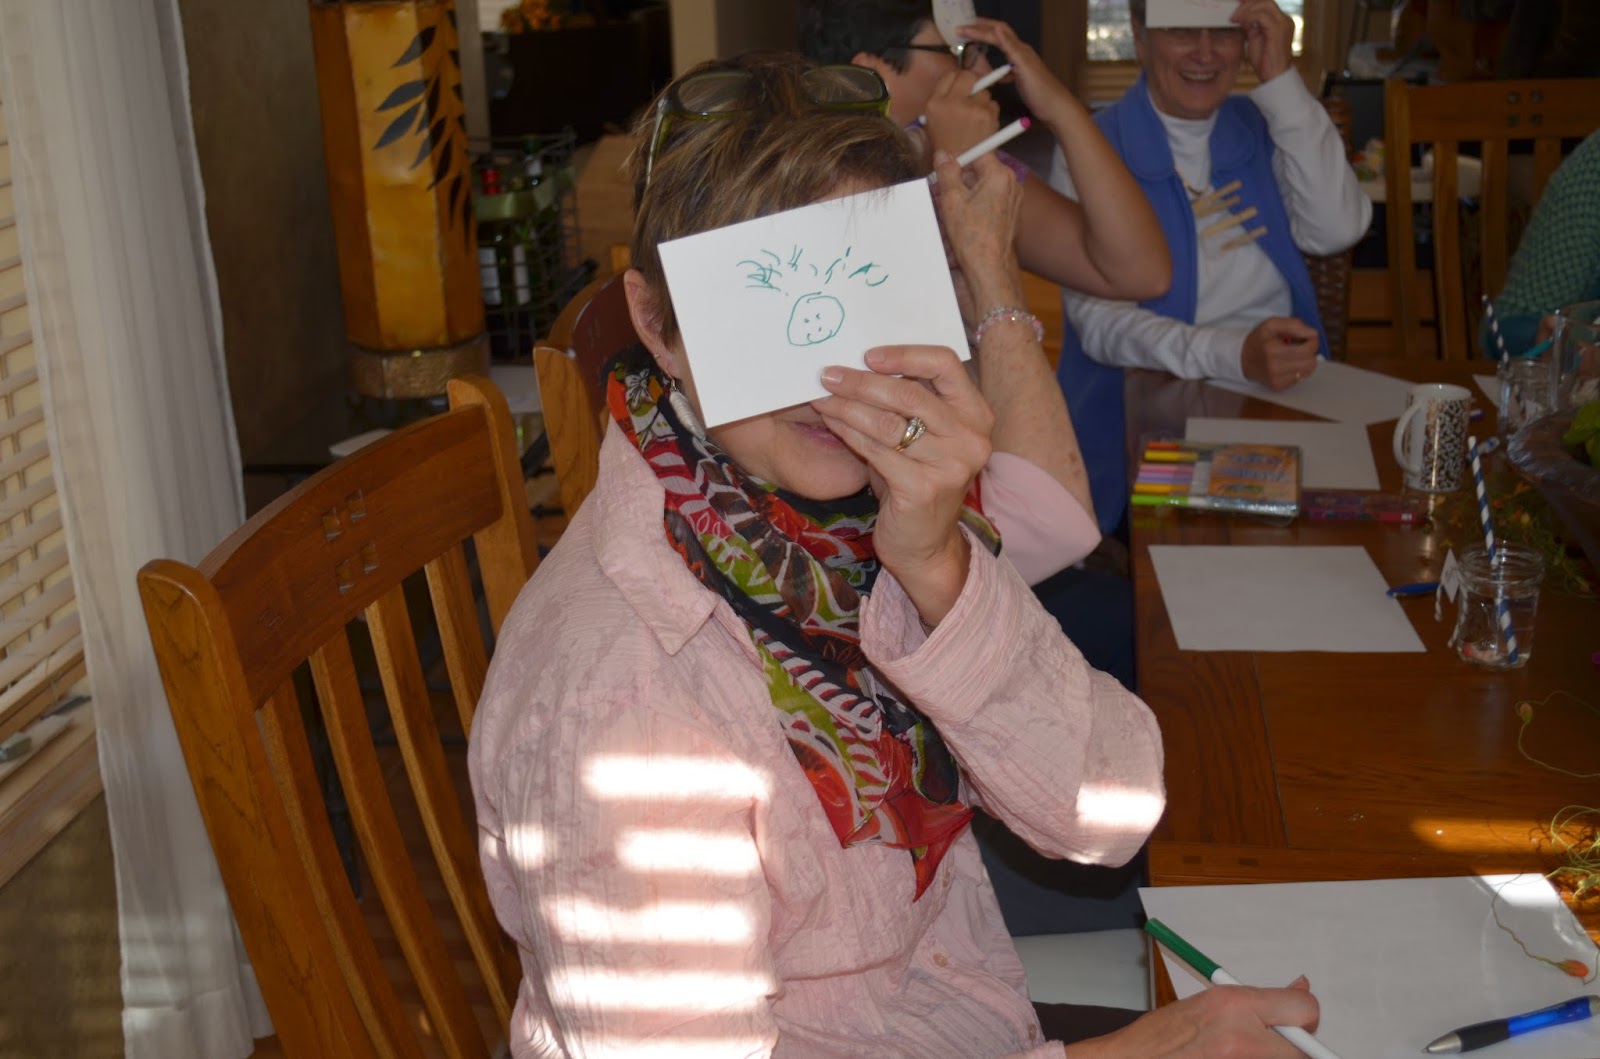
  • Baby's First Portrait: Guests hold a large index card to their foreheads and without moving the notecard proceed to draw a picture of the baby's first portrait. After drawings are finished, Mom-to-be votes for the "Best" and "Worst" portraits. This is a fun one to do first because it gets people laughing!
Grandma examining her masterpiece

This baby has grass for hair

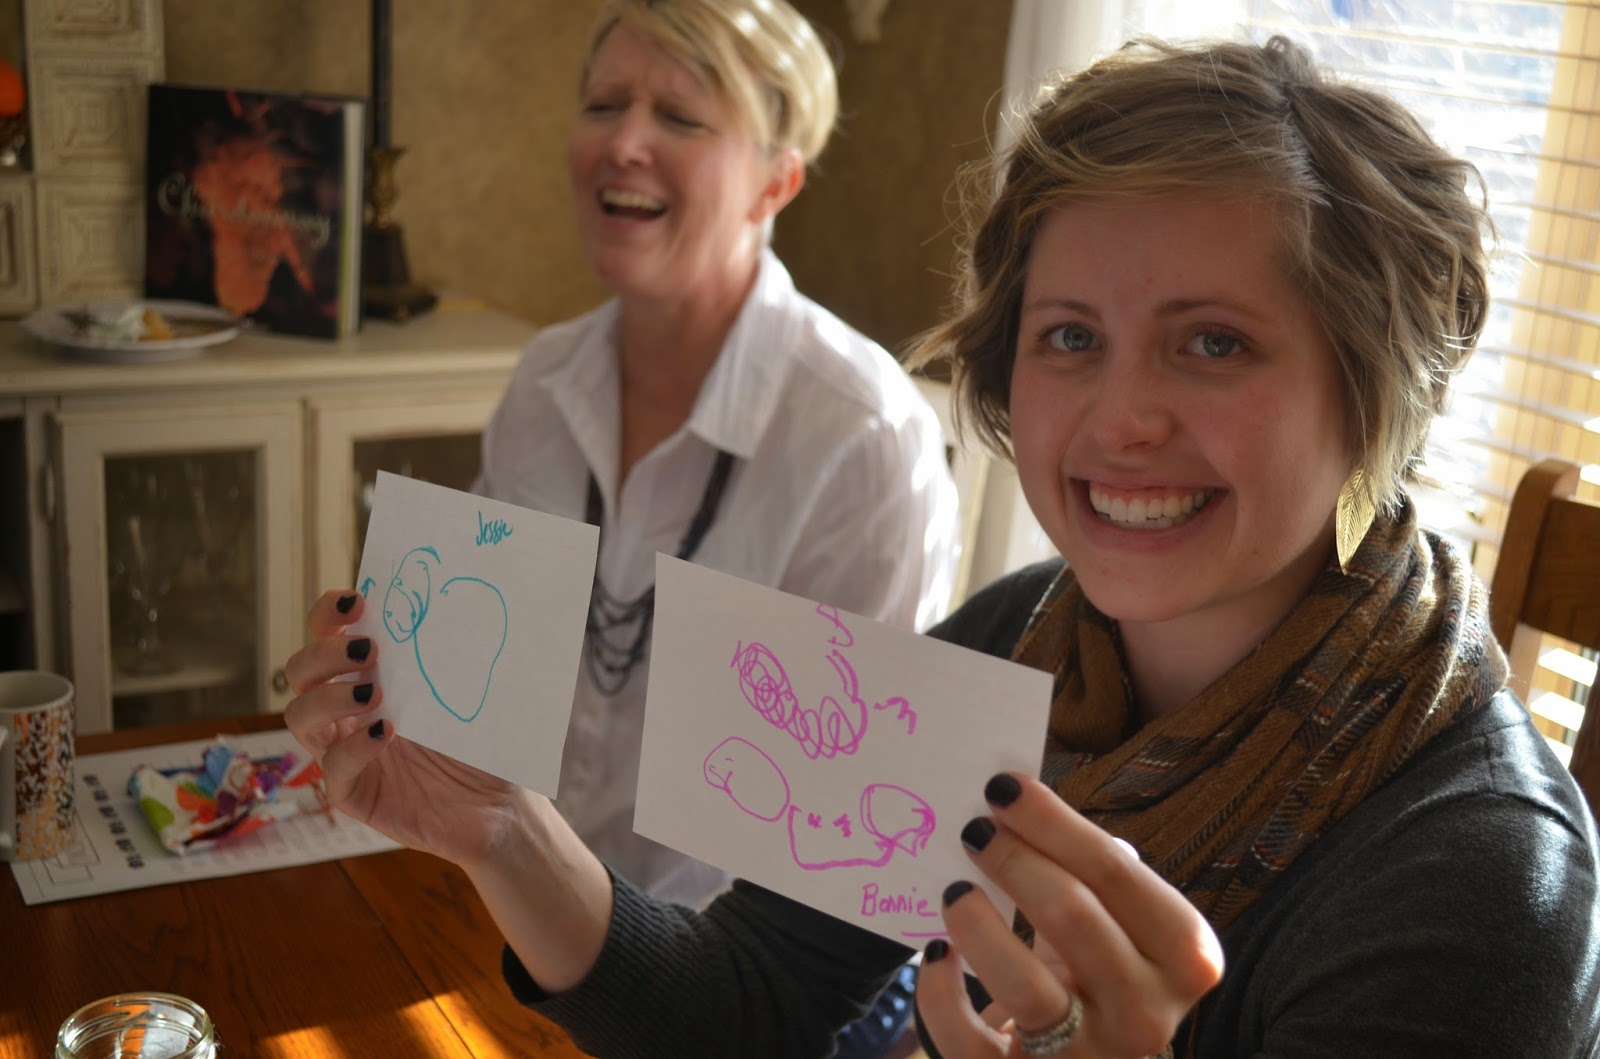
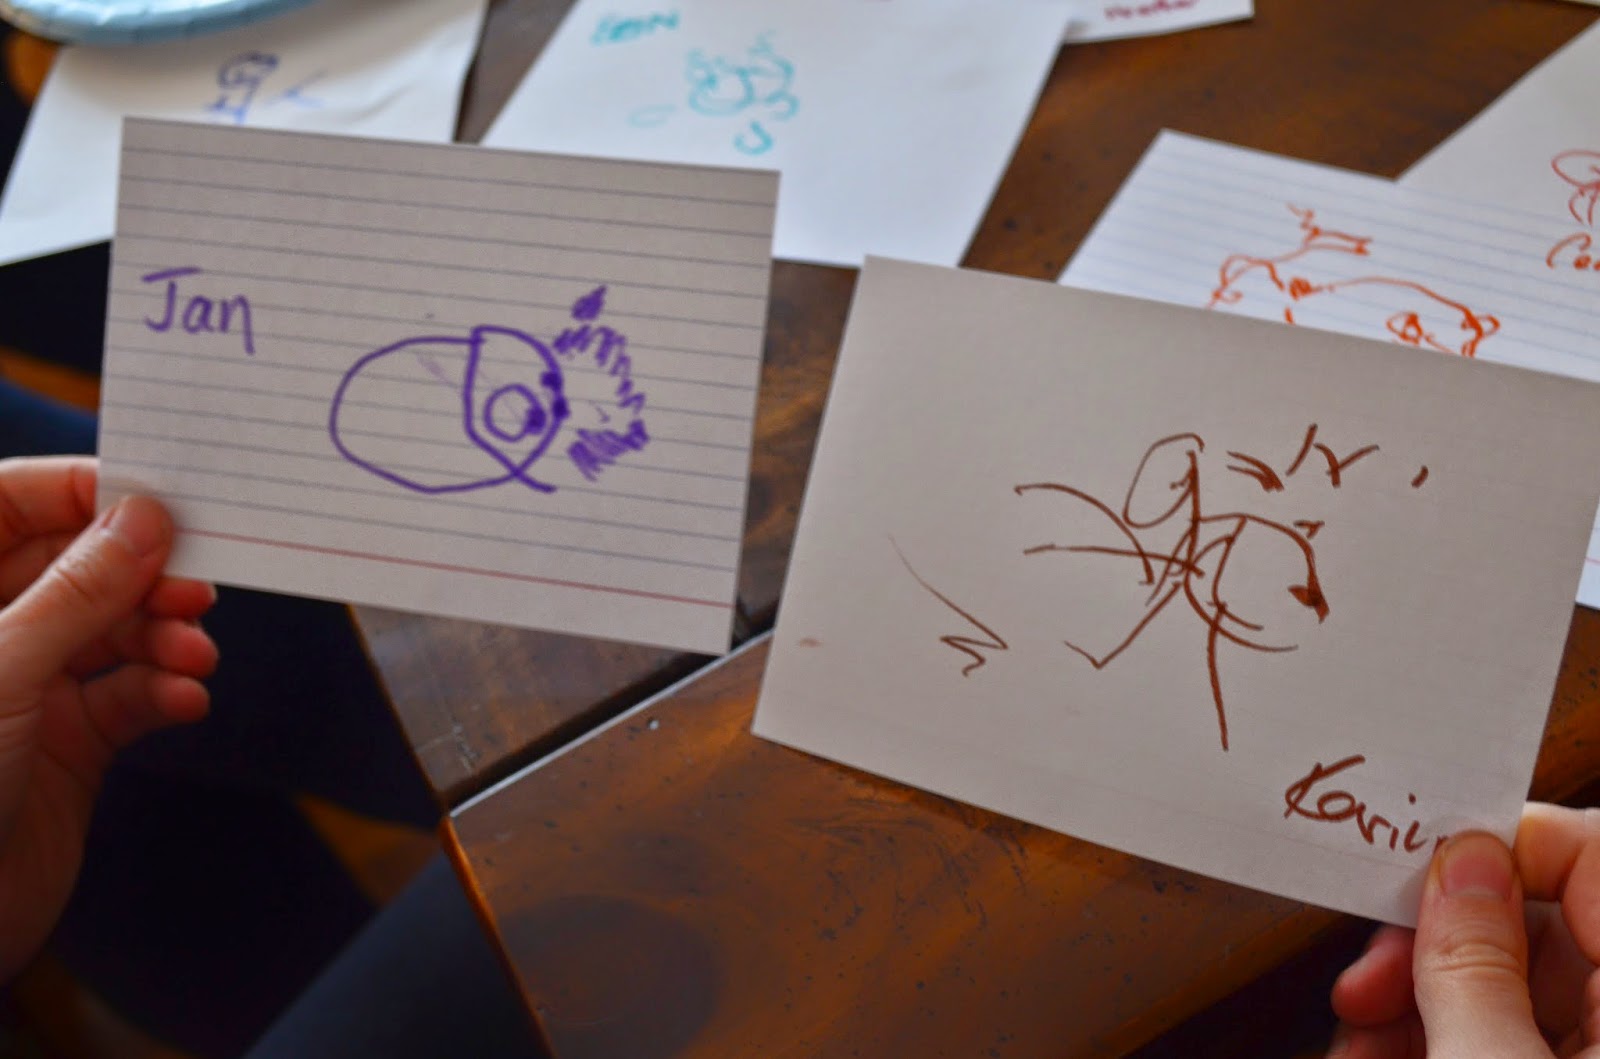
1st Shower: Best & Worst Winners

2nd Shower: Best & Worst Winners

The last thing I'll mention is the food. The best possible advice I can give when planning food for a shower/party is to ask a few guests to bring a food dish with them. The second possible best advice I can give is to make the following oven ham sammies. The ingredients are simple, and they are so. dang. good.

All you need is deli ham, cheese, King's Hawaiian Rolls, ground mustard, poppy seeds, onion flakes, Worcestershire sauce, and butter. You may or may not have the ingredients for the seasoning on hand, but once you buy them you will have plenty leftover in the pantry for the next time you make them. Which will be often, I promise. 

The best part about these sandwiches is that you can make them the night before and then bake them for 15 minutes at 350F just before serving. No prep the day of your event. Piece of cake. Every single time I make them someone asks me for the recipe. I got it from a co-worker and am thrilled to share it with anyone who wants it. 


Okay, here is the recipe:

Ingredients:
  • 16 oz. (weight) Thin Sliced Deli Ham
  • 12 slices Swiss Cheese (when I make them I use a slice of Swiss & a slice of Cheddar on each sandwich... it's up to you.)
  • 1 package King Hawaiian Rolls, 12 Count
  • 1/2 cups Butter, melted
  • 2 teaspoons Onion Flakes
  • 1 teaspoon Poppy Seeds
  • 1 teaspoon Worcestershire Sauce
  • 1/2 teaspoons Ground Mustard
Prep:
Put ham and cheese between sliced rolls. Mix all other ingredients and spoon over sandwiches. (I usually put a spoonful inside each sandwich, too.) Let set overnight or several hours (refrigerate). 

Bake on 350F for 15 minutes before serving.

There are so many other little details I could go into, and so much help from other people, but I thought I would share the essentials and the parts I worked on. Both baby showers were successful, and it was so much fun to see everyone. I just can't wait to meet that baby! <3


Wednesday, June 18, 2014

Father's Day Card


This isn't really much of a post, I just wanted to share the Father's Day card I made for my pops.

Simple, and sweet.

Baby Shower BBQ Invitation


Two of my first-cousins are pregnant with due dates a month apart: Erin is due July 22 and Hannah is due August 22. Literally, a month apart. My family decided to throw them a Double-Baby-Shower-BBQ in honor of the upcoming births. I've been head over heels for black ink on kraft paper lately, so I jumped at the chance to design the invitations. They are hand rendered with a touch of calligraphy. Invite reads:

Double Baby
BBQ Bash
Honoring
Erin and Kyle & Hannah and Nick
Baby Schumm: Boy, Target & Babies "R" Us
Baby Sohre: Unknown, Target

Then the Date, Time, Location, and RSVP contact info

Since it was a BBQ, I used symbols to represent the little baby bumps. Erin & Kyle know they are having a boy, so Baby Schumm gets a hot dog symbol. I think you all can guess why. ;)  Hannah & Nick have decided not to find out their baby's sex, so Baby Sohre gets a hamburger. 

The symbols by the registry information are baby bottles, in case you can't tell in the photo above. 

In addition to the invitations, my sister and I made "diaper cakes" for the baby shower. Diaper cakes are a fantastic idea for baby showers, and they are a double whammy, acting as both table decorations and gifts (you know they will need all the diapers they can get). 


P.S. In case you are confused as to what exactly a "diaper cake" is, I will explain. First of all, no, it is not actually a cake. You don't need flour, and you don't need to bake it in the oven (my husband was very confused when he asked what ingredients I needed and all I said was a box of diapers and some ribbon).

The steps are simple. Unfortunately, I don't have photos for this tutorial, but I will try to explain it the best I can without them.

Diaper Cake Tutorial:

Supplies: 1 box newborn diapers, ribbon (your color of choice, I like to mix it up a little), string or yarn, empty toilet paper rolls, and circular forming objects in different sizes (pots, baskets, anything that is round with a flat bottom).

1. Take your largest object, I used a pot. Start placing diapers along the inside edge of the pot, continue in a circle with the diapers overlapping (approx. 1 inch gap between diaper edges).

2. Continue to place diapers in the pot in a circular fashion, they will begin to spiral inward.

3. Once you reach the center, place the empty toilet paper roll in the middle of the pot to act as a filler.

4. This next step is easier with two people. Flip the pot upside down onto the table and slowly coax the diapers out of the pot, when they are 1/4 to 1/2 way out, tie a string or piece of yarn tightly around the outside edge of diapers so they will stay together.

5. Pull the diapers the rest of they way out, and you've got yourself the first layer of diaper cake!

6. Repeat steps 1-5 with different sized pots to achieve different sized layers, OR you can use the same sized pot and slowly, and carefully remove the outside layers to create a smaller size.

7. Stack diaper cake layers and tie ribbons around the strings to hide them.

Pro Tip: The diapers we used had color on the front side and were plain white on the back. We did some layers with the colored side showing and some layers with the white sides of the diapers showing. Alternate layers for a fun look.